Wednesday
today I made things...
Today, I have been making things for the shoppe...I have a morning appt. to keep...
I am up too late and am so very tired...
I still have many things to do, and things to list...and create...and paint.
Tuesday
A Butterfly Giveaway!
Suprise! Another butterfly giveaway for you :)
The loot: These 4 sets of butterflies.
To enter:
Go here:
http://sherryturley.blogspot.com/2010/03/gilded-bee-giveaway.html
Entries are taken from today, until Sunday, April 4th.
Good luck! :)
Monday
Sunday
And the Winner is...
Kate said...
#54 Comment in the lovely package exchange!
http://ohhellofriend.blogspot.com/2010/03/2010-
lovely-package-exchange.html?commentPage=3
{Congrats Kate! Please e-mail me at the_gilded_bee[!at]yahoo.com to claim the loot}
True Random Number Generator:
Min: 1
Max: 115
Result: 70
Powered by RANDOM.ORG
Saturday
Saturday
Today is nearly over. There are so many, many things left to do on my long list of stuff.
I wanted to take heaps of photo's today, but ran out of daylight. Tomorrow.
Hopefully I can cram more stuff into this upcoming week...
P.S.
today is the last day to enter
the lovely package wrap giveaway...
till midnight...
Friday
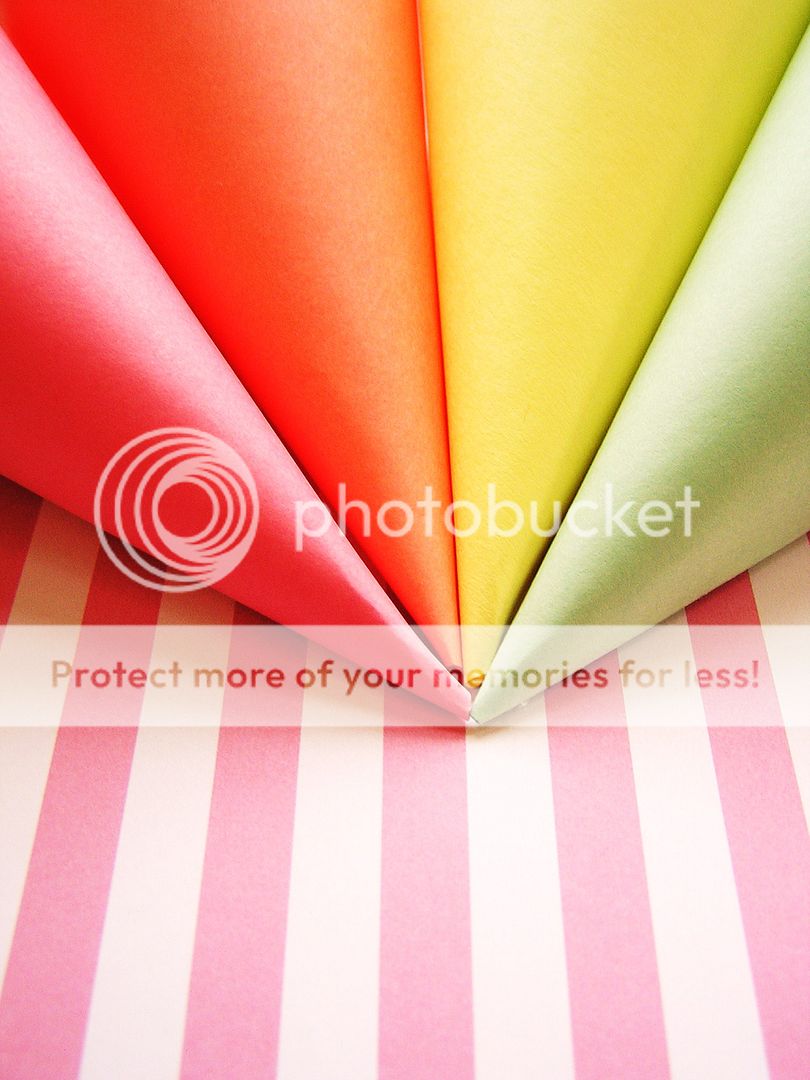
paper cones
I love paper cones, and have hunted around for some good templates/tutorials.
They are so perfect: any task, from Easter trifles to cones of fresh flowers as wedding favors, to holding cello bags of popcorn for trick-or-treats, to holding chocolates and small gifts on a Christmas tree, to new years crackers, to Valentine parcels.
I made these out of random vintage book pages.
These are inspired by the Lovely Livy of A Field Journal:
http://afieldjournal.blogspot.com/2009/04/paper-cones-craft-tutorial.html
Hers are made from vintage sheet music and are longer than these and are oh-so-elegant.
These are easy to make from any text weight paper, and look charming in vintage and patterned papers.
These cones are made from this free printable PDF template:
http://www.ruthannzaroff.com/mirkwooddesigns/cone.htm
You can add a fancy edge if you wish ;)
To hold heavier objects, I made these out of cardstock.
The template can be sized to be smaller too.
One way of dressing them up is to add a trim around the edge of the top.
In this case, gold tinsel.
They can be hung by wire.
They can also be suspended by ribbons or twine. I added a big white carnation to this one. The options are practically endless.
Thursday
antique clip art
Today I thought that I would share one of my most favorite sources of free antique clip art: http://antiqueclipart.com/
There are pages and pages of lovely images.
I love to tint parts of these black and white architectural/furniture clips.
There are pages and pages of lovely images.
I love to tint parts of these black and white architectural/furniture clips.
Wednesday
Security Envelope Rosettes
I started out my crafting life as a very small child.
Armed with a roll of tape, bottle of paste, and a pair of scissors, I would hoard "Garbage".
Paper towel rolls, cracker boxes, used envelopes and papers, plastic containers etc.
I made 3-D doll houses with them.
I've carried that attitude with me to the present: how can I make something interesting out of random components? Security envelopes have been on the random component list for a while.
I have been sure that something was waiting to be created...
I stumbled into this blog one day and have kept going back for more. I love her tutorials. I want to make the projects in all of them.
TO MAKE THE ROSETTES:
instructions:
http://papiervalise.typepad.com/scissor_variations/2009/04/judging-an-envelope-by-its-return-address-part-1.html
Tuesday
mini take out boxes and paper fortune cookies
Here is another post along the theme of interesting packaging.
I've been enamored with little and unusual boxes for a while, and collect templates to make them.
This one is a favorite: the mini take-out box.
This one is just the right size for a trifle, a single chocolate, or piece of jewelry.
To make "chopsticks", I just blunt some wooden toothpicks.
To create handles for the boxes, I use some wire, or in this case, a paper clip.
I saw these paper fortune cookies on a wedding blog and just loved them.
The template {link} provided can be sized to be larger or really tiny, as you wish.
THE LINKS
to make the projects:
The mini take-out boxes:
http://www.ruthannzaroff.com/mirkwooddesigns/takeout.htm
The paper fortune cookies:
http://www.oncewed.com/7578/diy-wedding/favors/diy-fortune-cookie-favors/
happy creating :)
Monday
Spiral Roses: A Tutorial
I was searching for botanical pics on the internet, when I stumbled on a blog article with these roses (dozi design). She had been inspired by a magazine article. I practiced making some of these and really like them. So I thought I'd share them with you:
Step 1:
On a square piece of cardstock (mine was 4x4) draw a spiral.
Step 2:
Working along the line, cut out the spiral.
Step 3:
On the outer edge, roll toward the center.
Keep rolling until you reach the center.
Step 4:
To keep it from unrolling, I tacked mine with a little bit of glue at the end.
These would look charming on a parcel. Some leaves and or tiny flowers would work with these too. With some practice, these are easy (and quick) to do without the pencil lines as a guide.
Saturday
Lovely Package Wrap Kit Giveaway!
Note: This giveaway is now closed
Finally: A "home blog" giveaway :)
For you: in honor of the lovely package exchange :)
THE KIT:
1. 1 bunch of 6 plum+butter pansies
2. 1 bunch of 12 plastic/lucite raspberry daisies
3. One set of 6 asst. color/pewter Butterflies
4. 1 spool-10 yd's canary/white striped bakers twine
5. 1 spool-10 yd's basil/white striped bakers twine
6. 1 spool-10 yd's pearl blue twine
7. 3 sheets dotted stickers: 1 smoke blue, 1 lipstick red, and one moss green.
8. 1 dozen asst. neopolitan ice cream colored mini envelopes
9. 30 tags: 6 tags in each color: bubble gum pink, butter, mint, baby blue, and orchid.
10. 1 roll canary crepe trim
11. 1 set of 6 asst. daffodils
12. 1 dozen paper sacks: 6 of each, kraft and white.
You can enter up to 4 times, just leave a separate comment for each:
1. leave a comment about a beautiful package you received and what made it special
2. blog this giveaway+then leave a comment with the link
3. Become a follower of this blog+leave a comment (if you already follow, that counts too, just leave a comment ;) )
4. If you are a member of "The Lovely Package Exchange" this month on Oh Hello Friend, leave a comment with the number of your comment from this post:
http://ohhellofriend.blogspot.com/2010/03/2010-lovely-package-exchange.html . :)
The winner will be chosen via Random.org
Entries are taken until Saturday, March 27, 12:00 am/midnight Central standard time
please leave your e-mail address in your comment and be sure to check back for the results ;)
Good luck! :)
Note: This giveaway is now closed
Subscribe to:
Posts (Atom)